Connecting Naver
To connect Naver to VCMS, turn off Naver’s two-step verification first, then connect with your existing Naver ID and password.Step 1. Turn off Naver two-step verification
- Mobile
- PC
Naver app, menu (≡) at the top left > your name > Two-step verification > re-enter your password > Turn off at the bottom of the page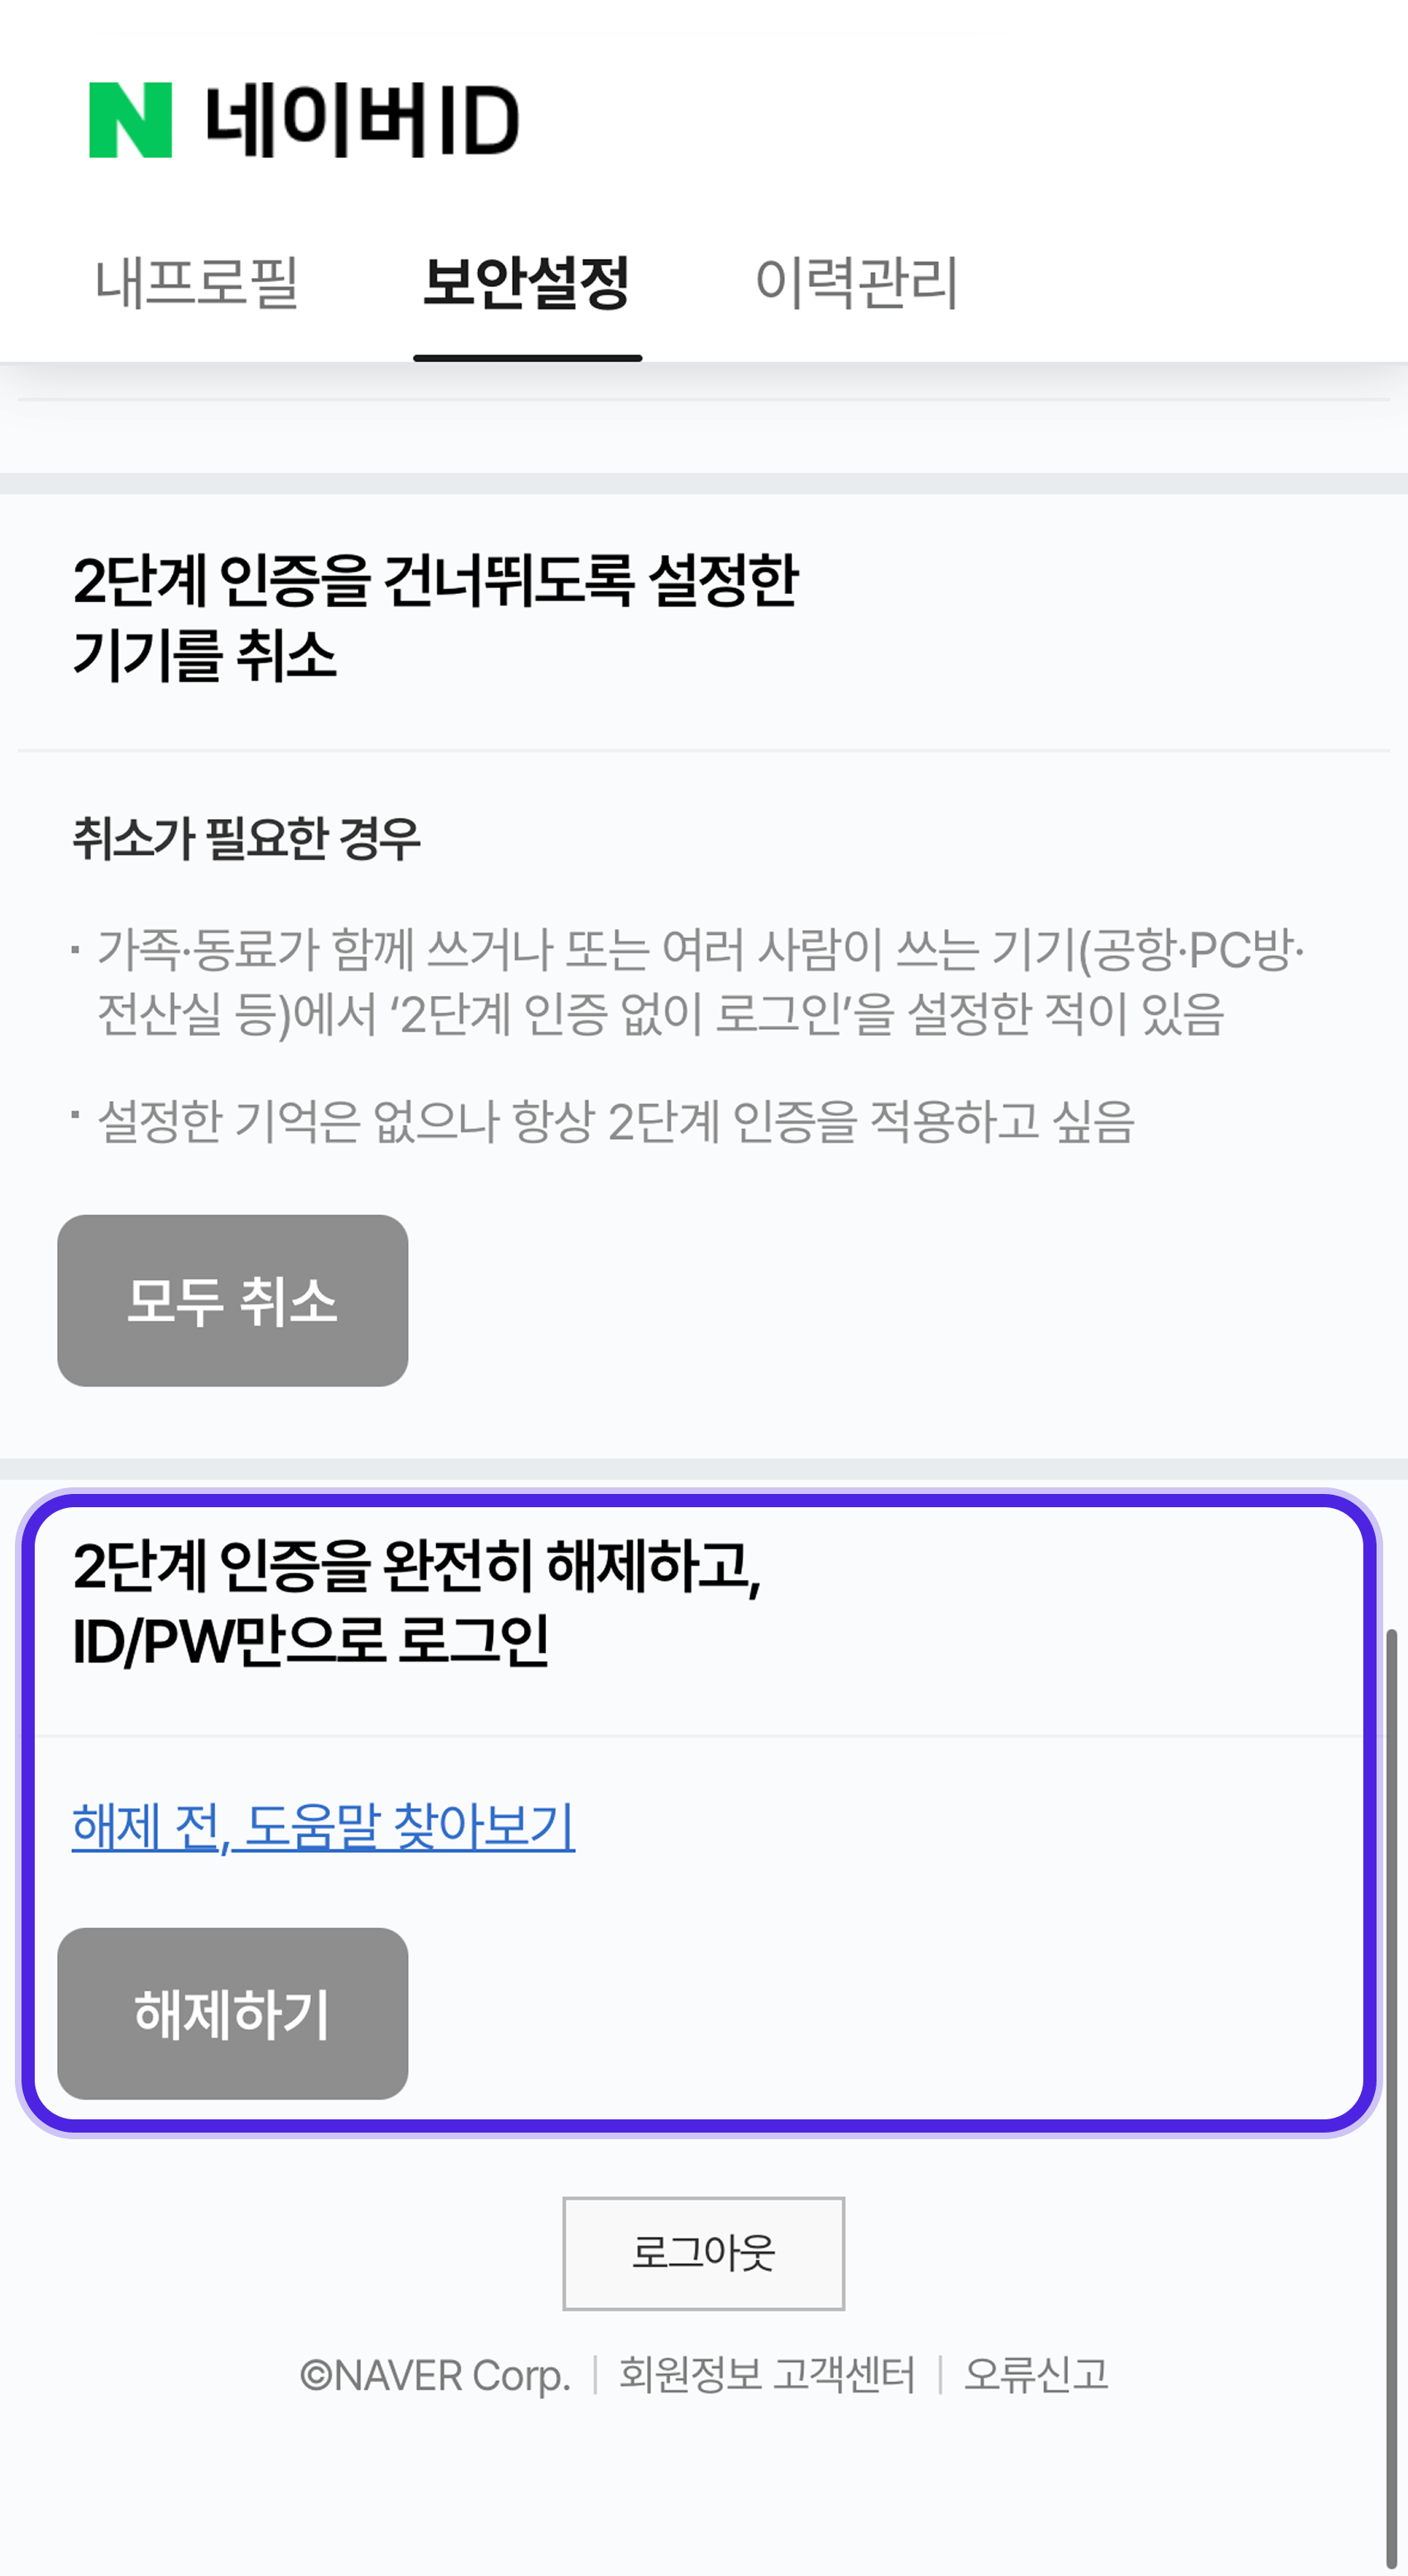
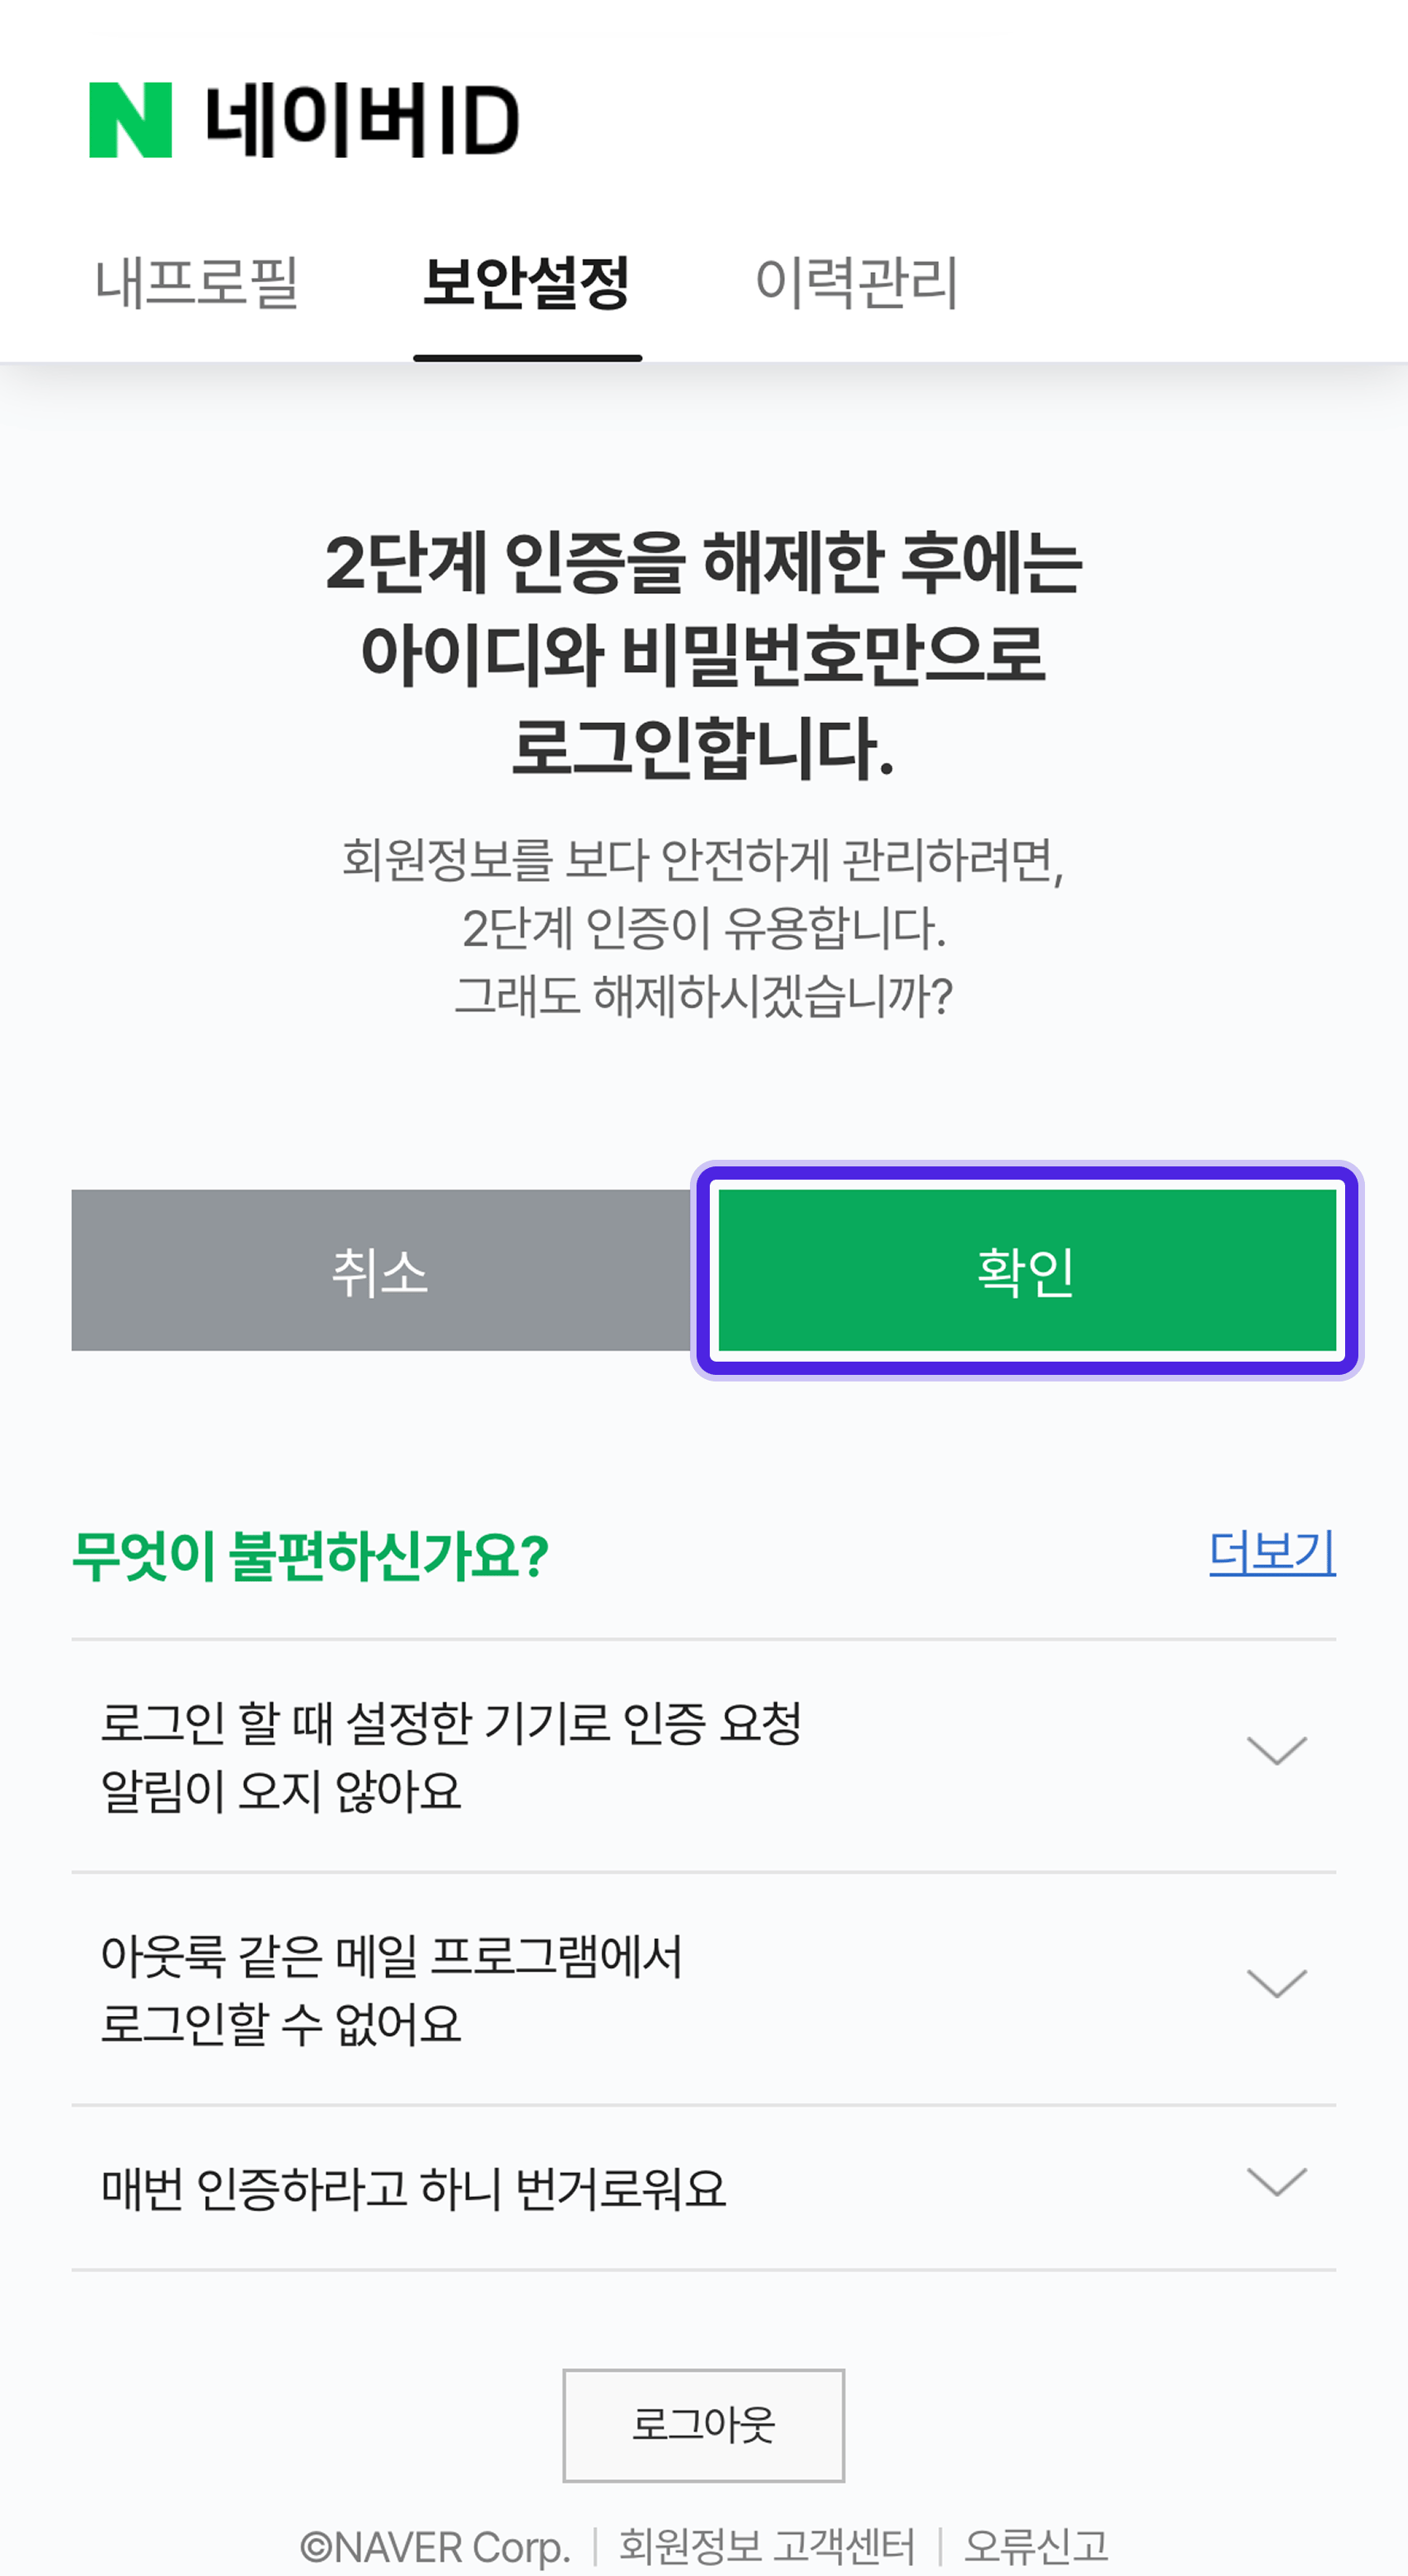
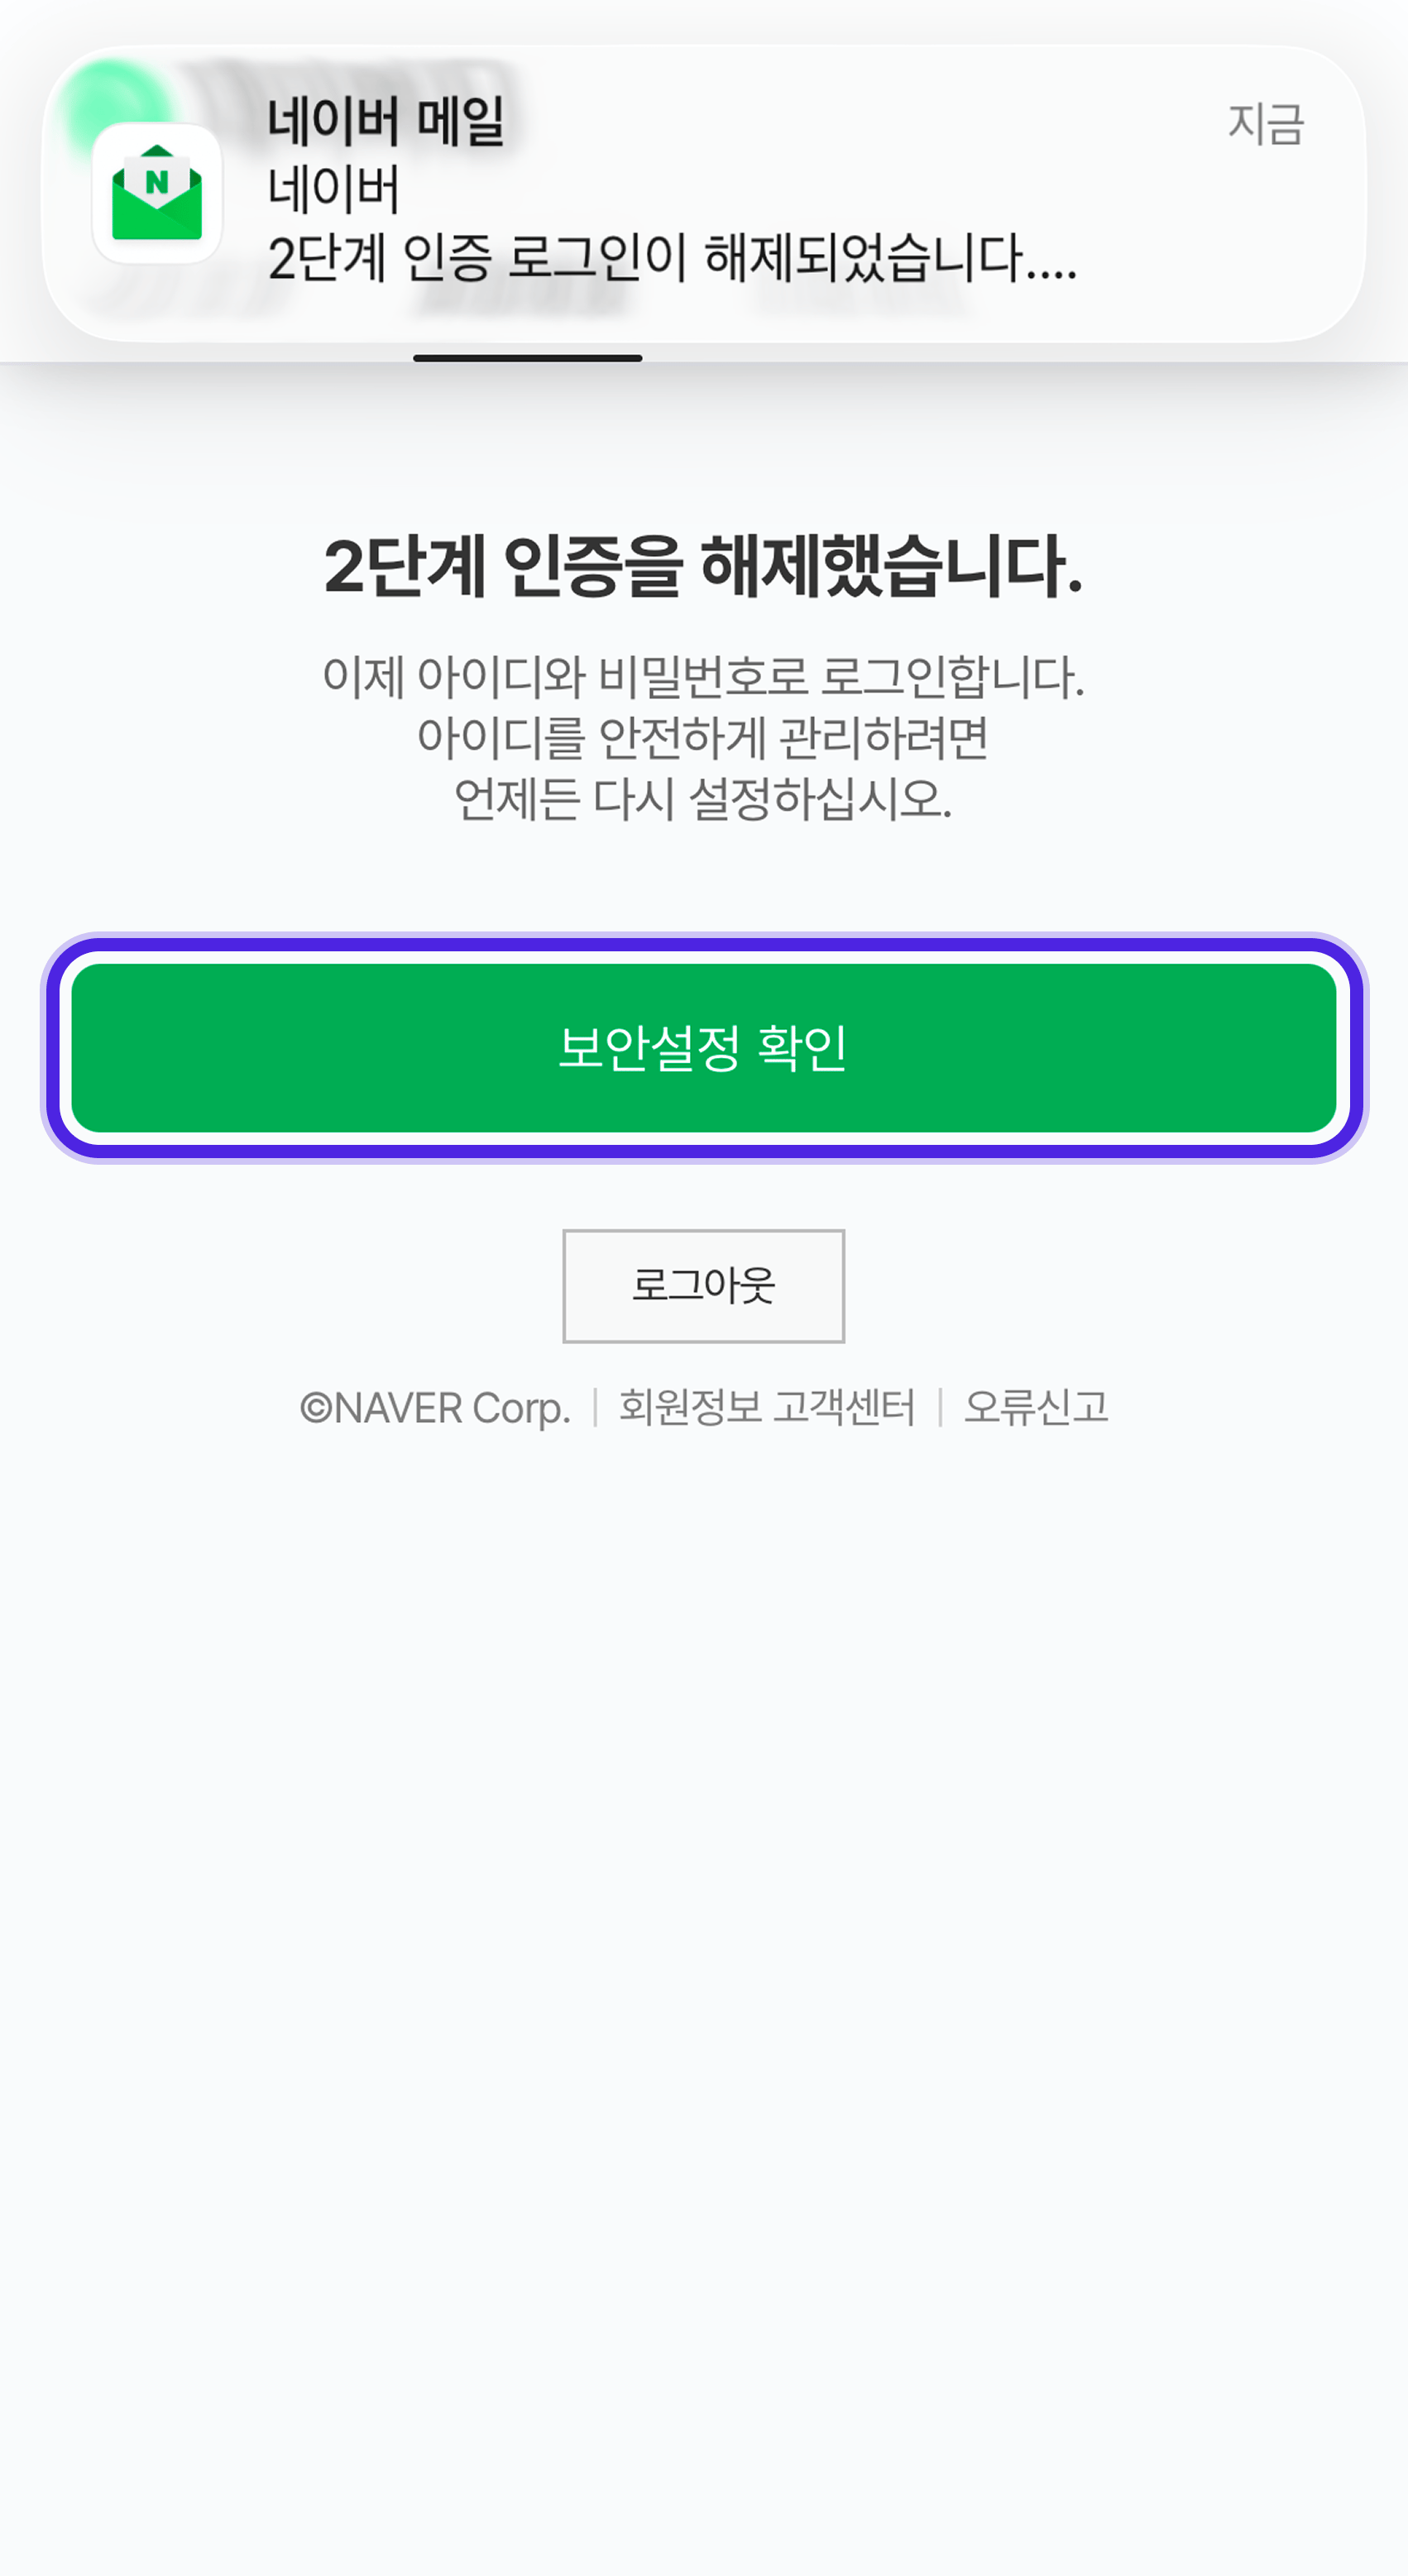

For more on turning it off 👉 see Naver’s help page on two-step verification.
Step 2. Turn off Naver’s login blocking
Under Naver Security settings > Login block settings, “Block logins from other regions” stops VCMS from connecting. Turn that off too.
Step 3. Reconnect Naver in VCMS
VCMS > Settings > Channels > Naver > Reconnect > enter ID and passwordWorth knowing
- Turning off two-step verification deletes every application password you created.
- Turn two-step verification back on after connecting and the connection drops.
Things to watch
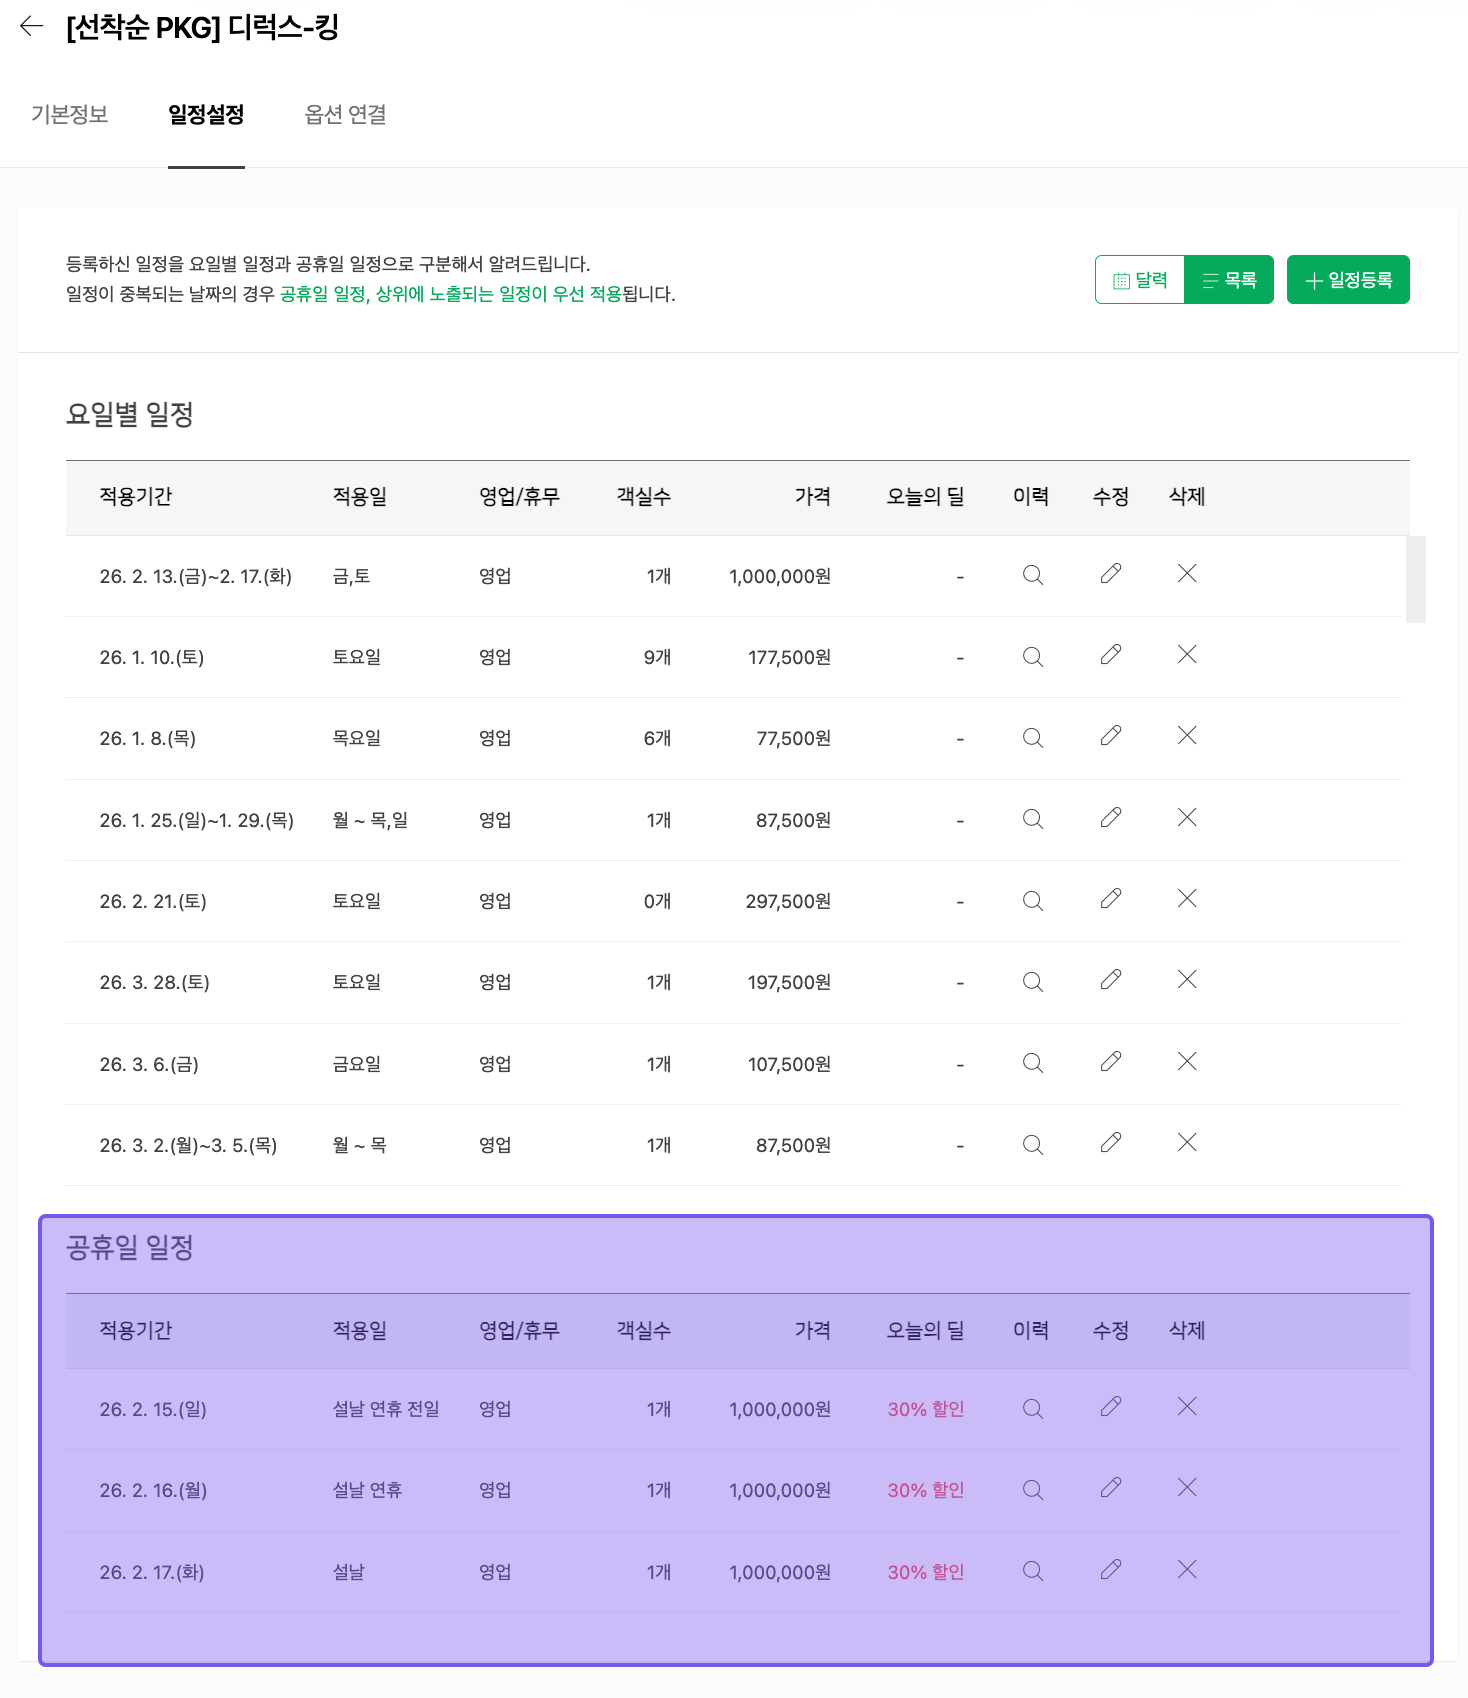
Take care if your Naver room list has Today’s Deal (a set discount applied if the room has not sold by 00:00) or holiday schedules registered.
- Syncing inventory and rates deletes Today’s Deal and the holiday schedules, replacing them with the inventory and rates from the VCMS Distribution screen.